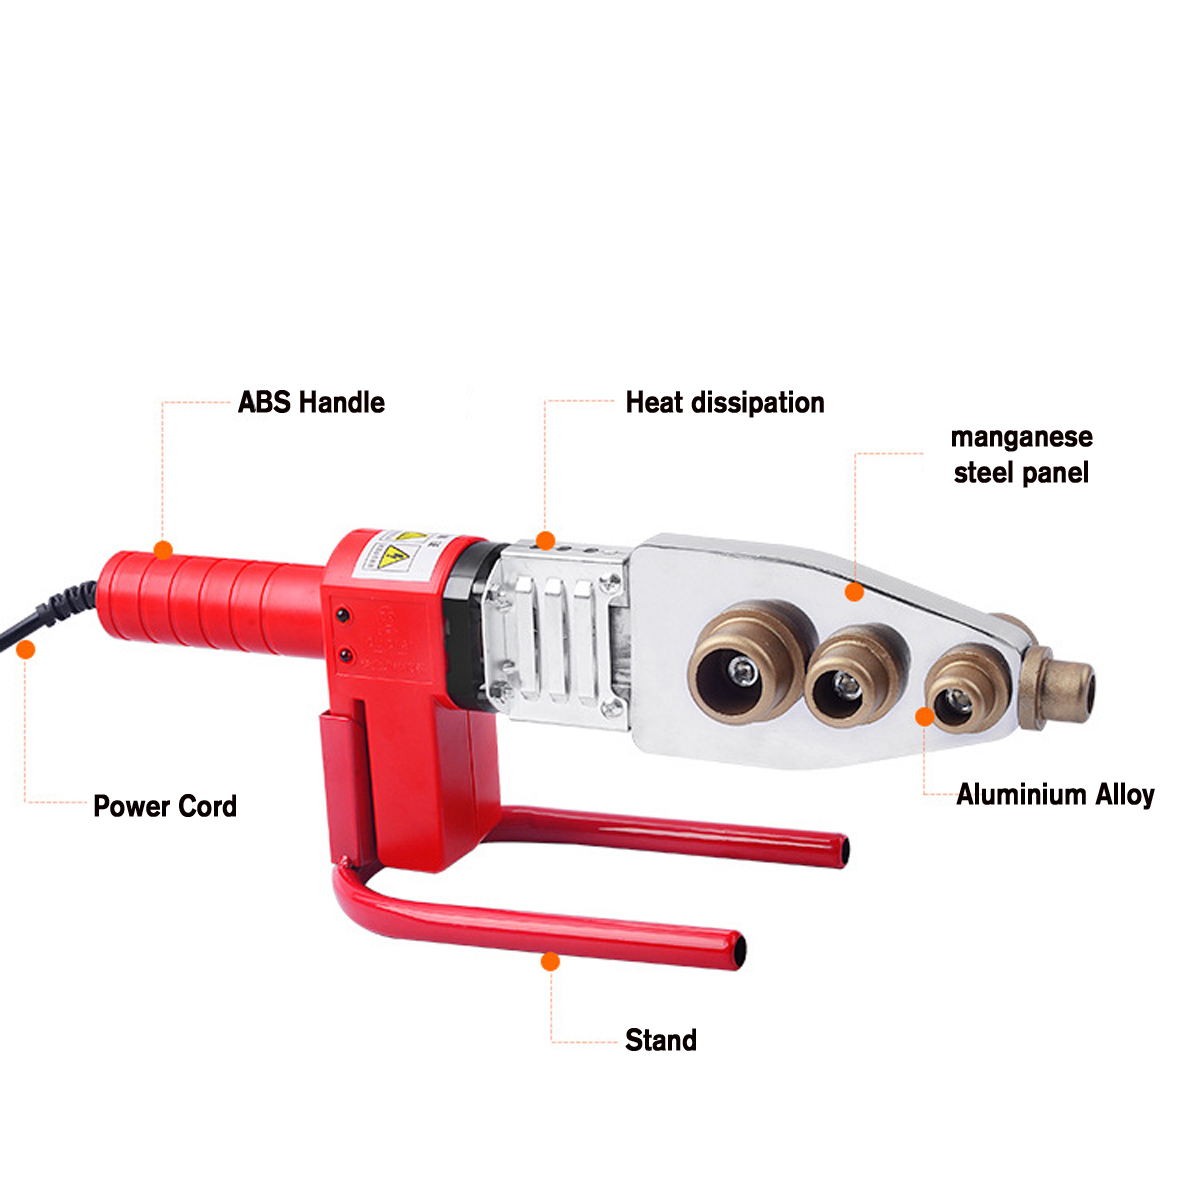
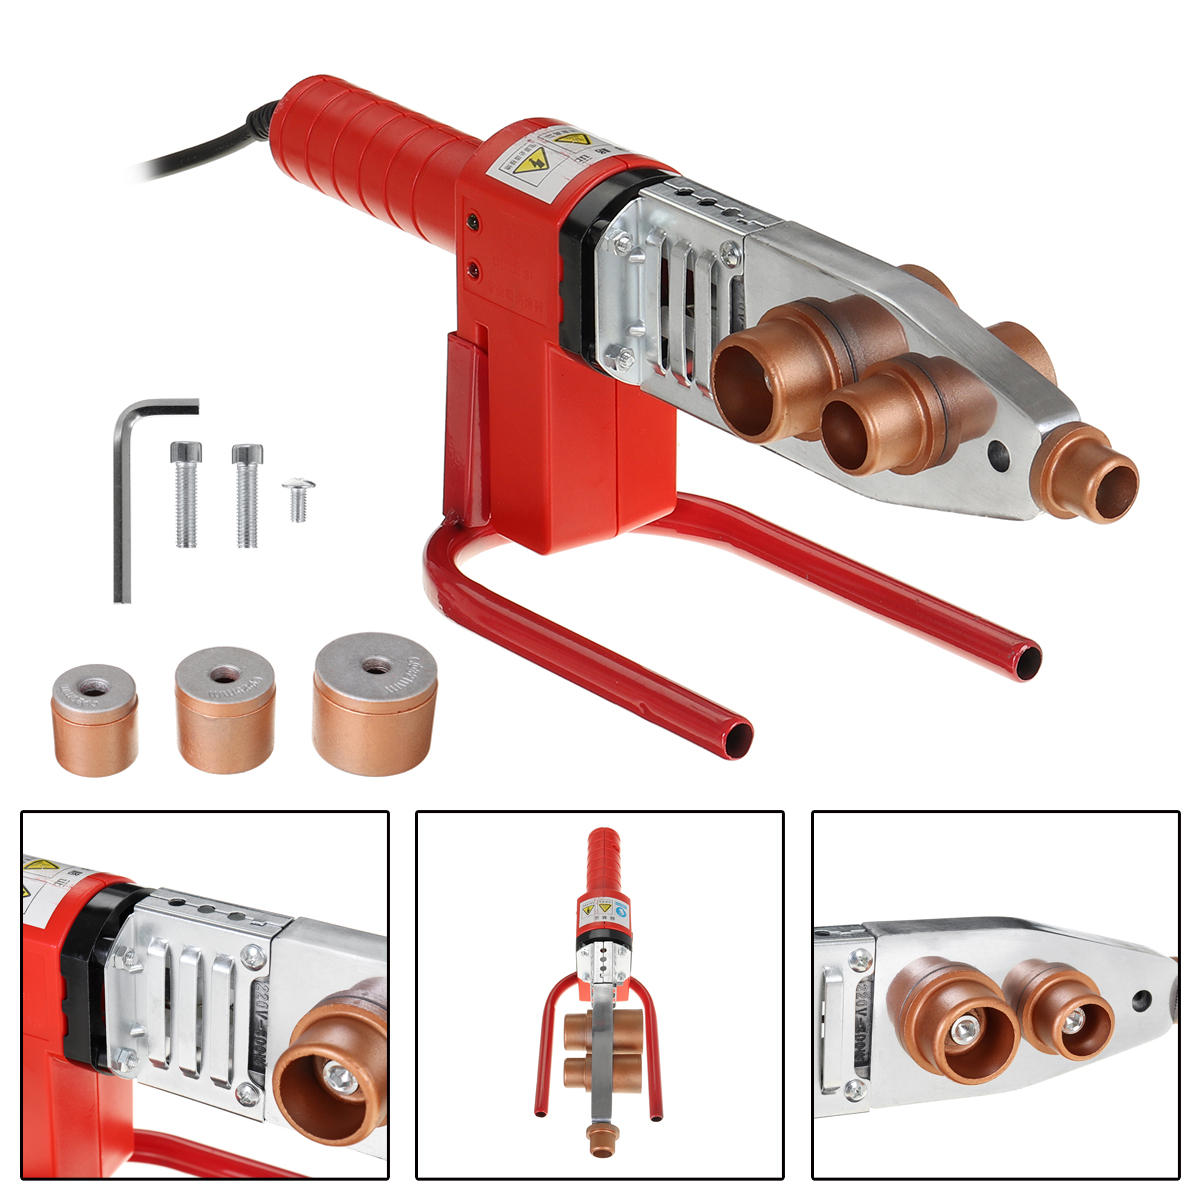


Specifications
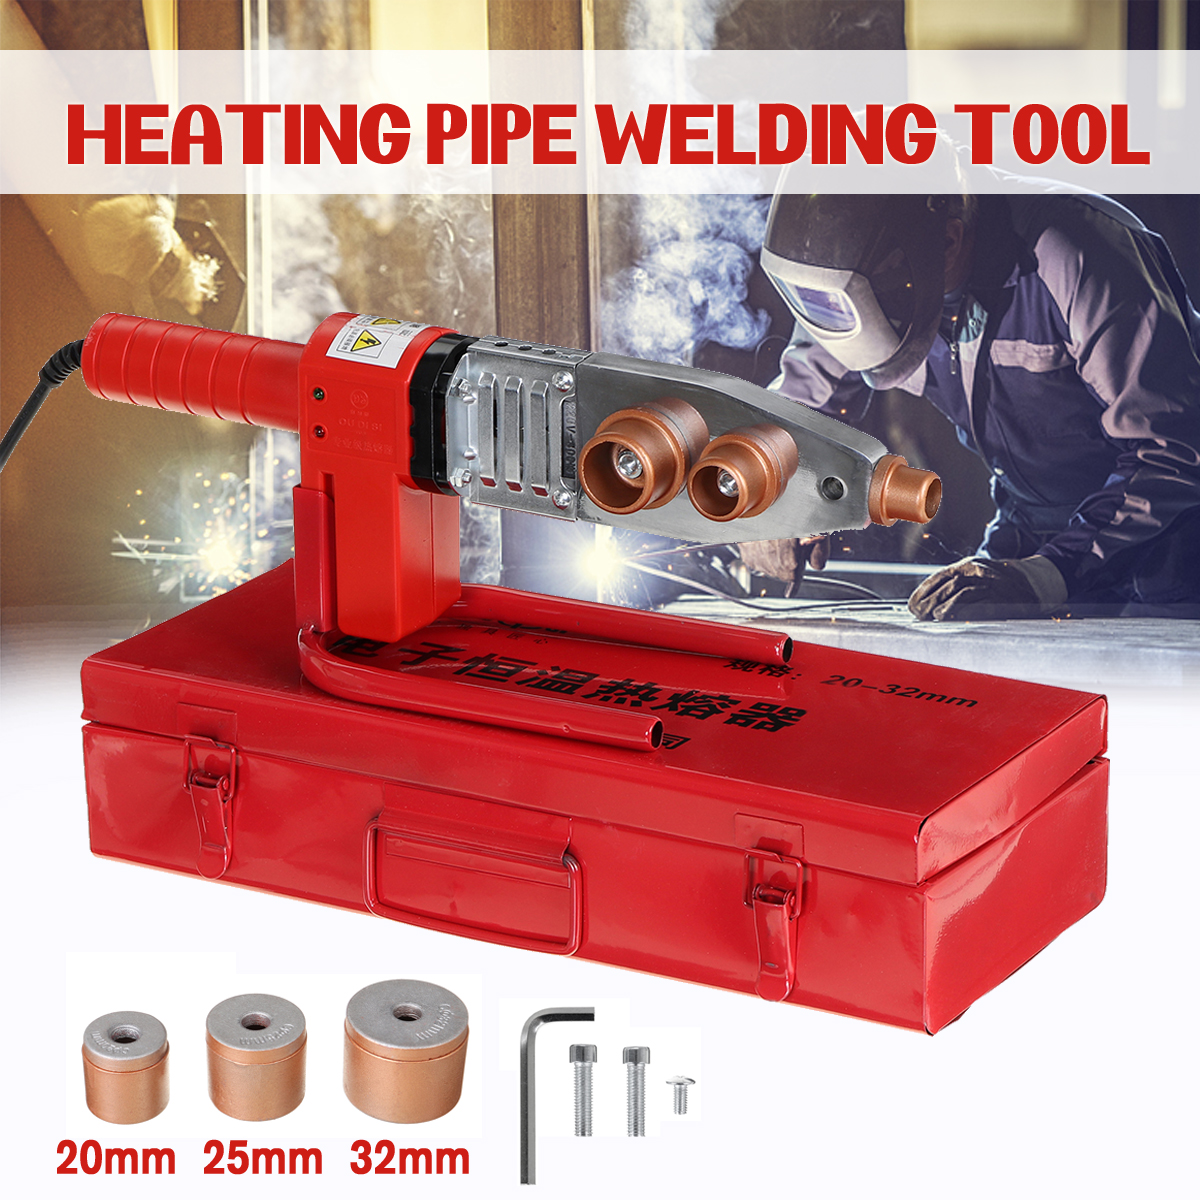
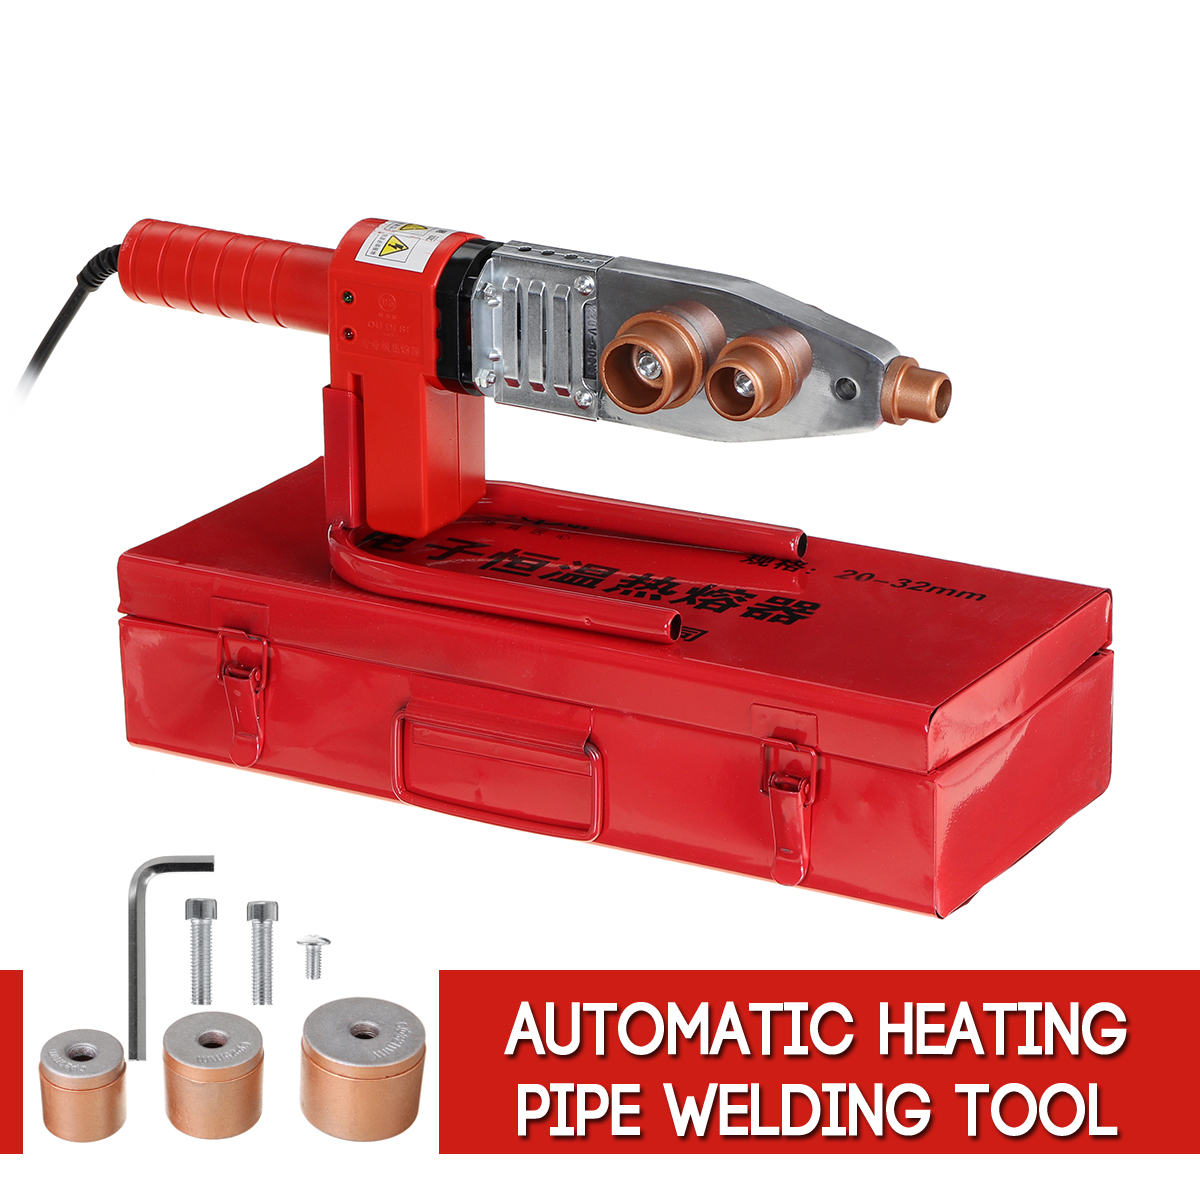
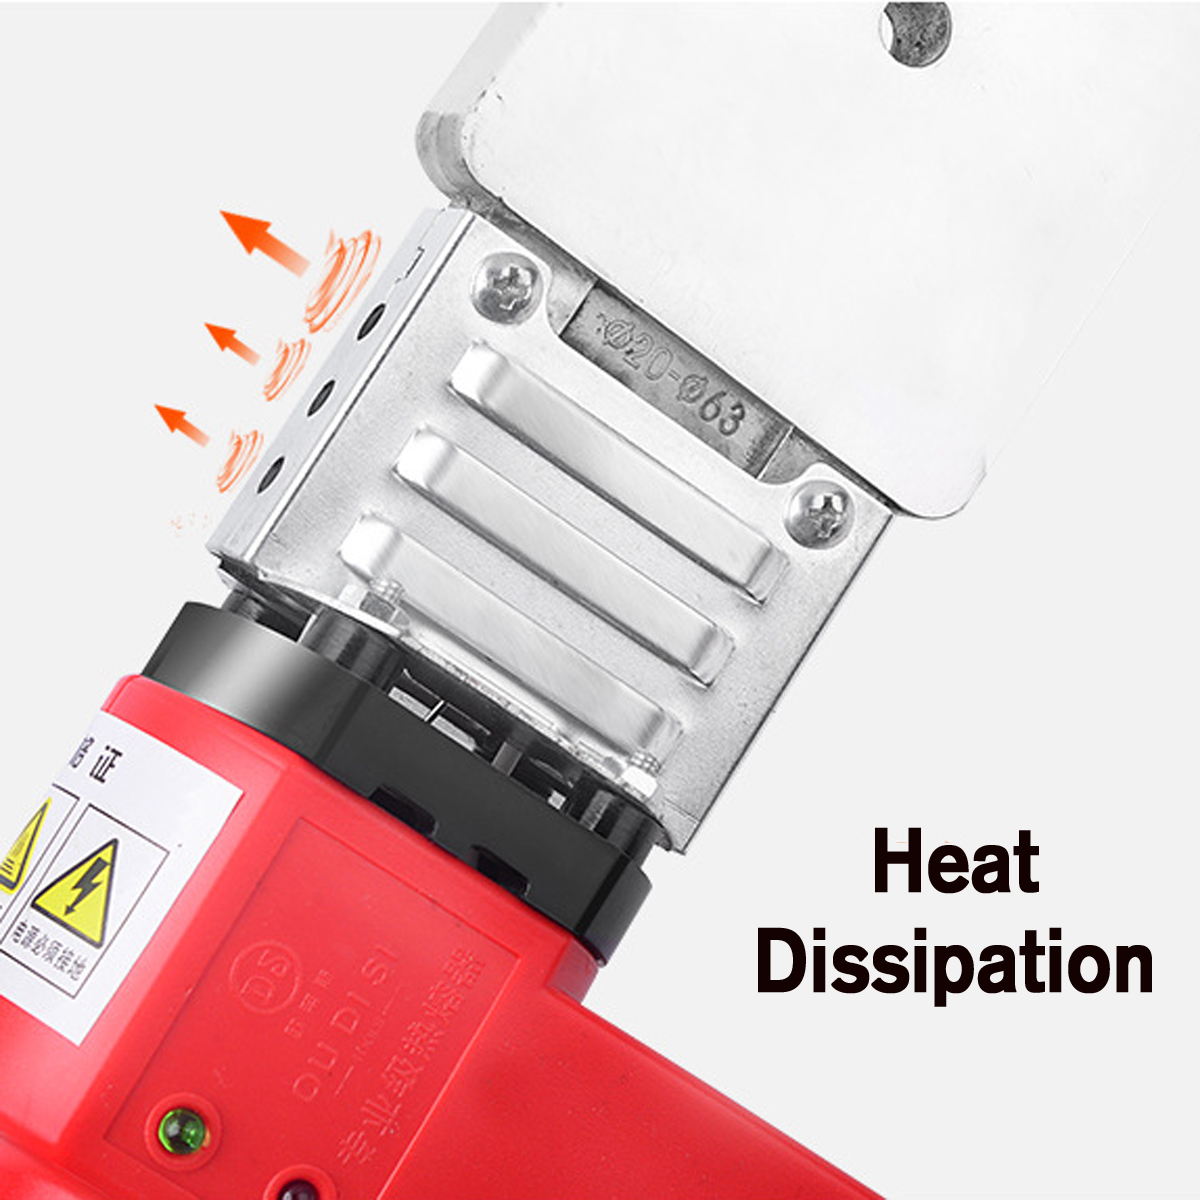
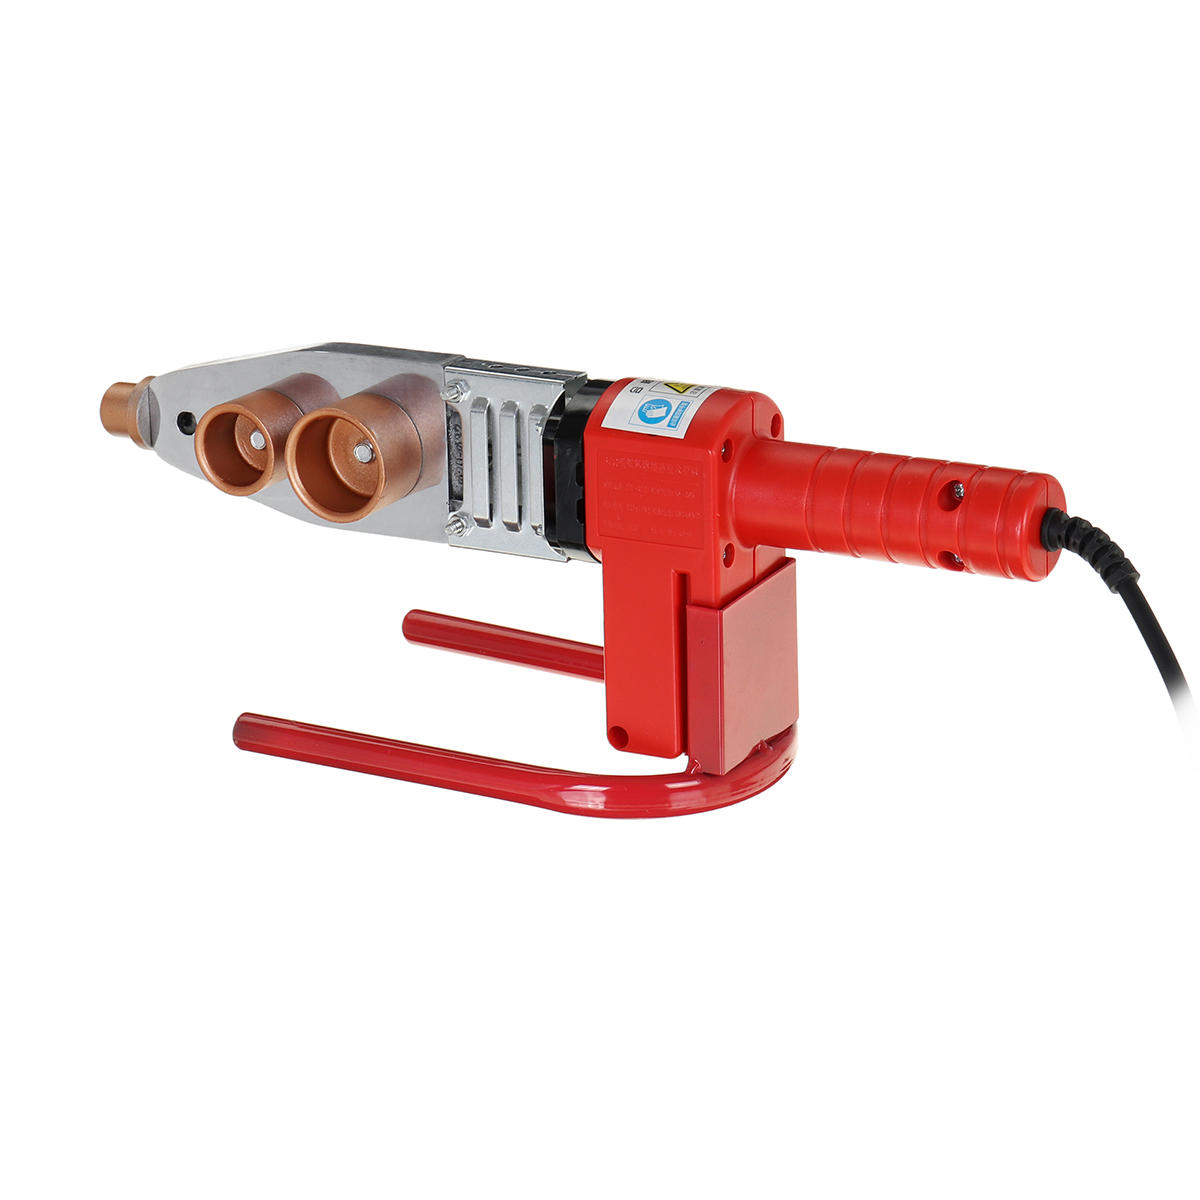
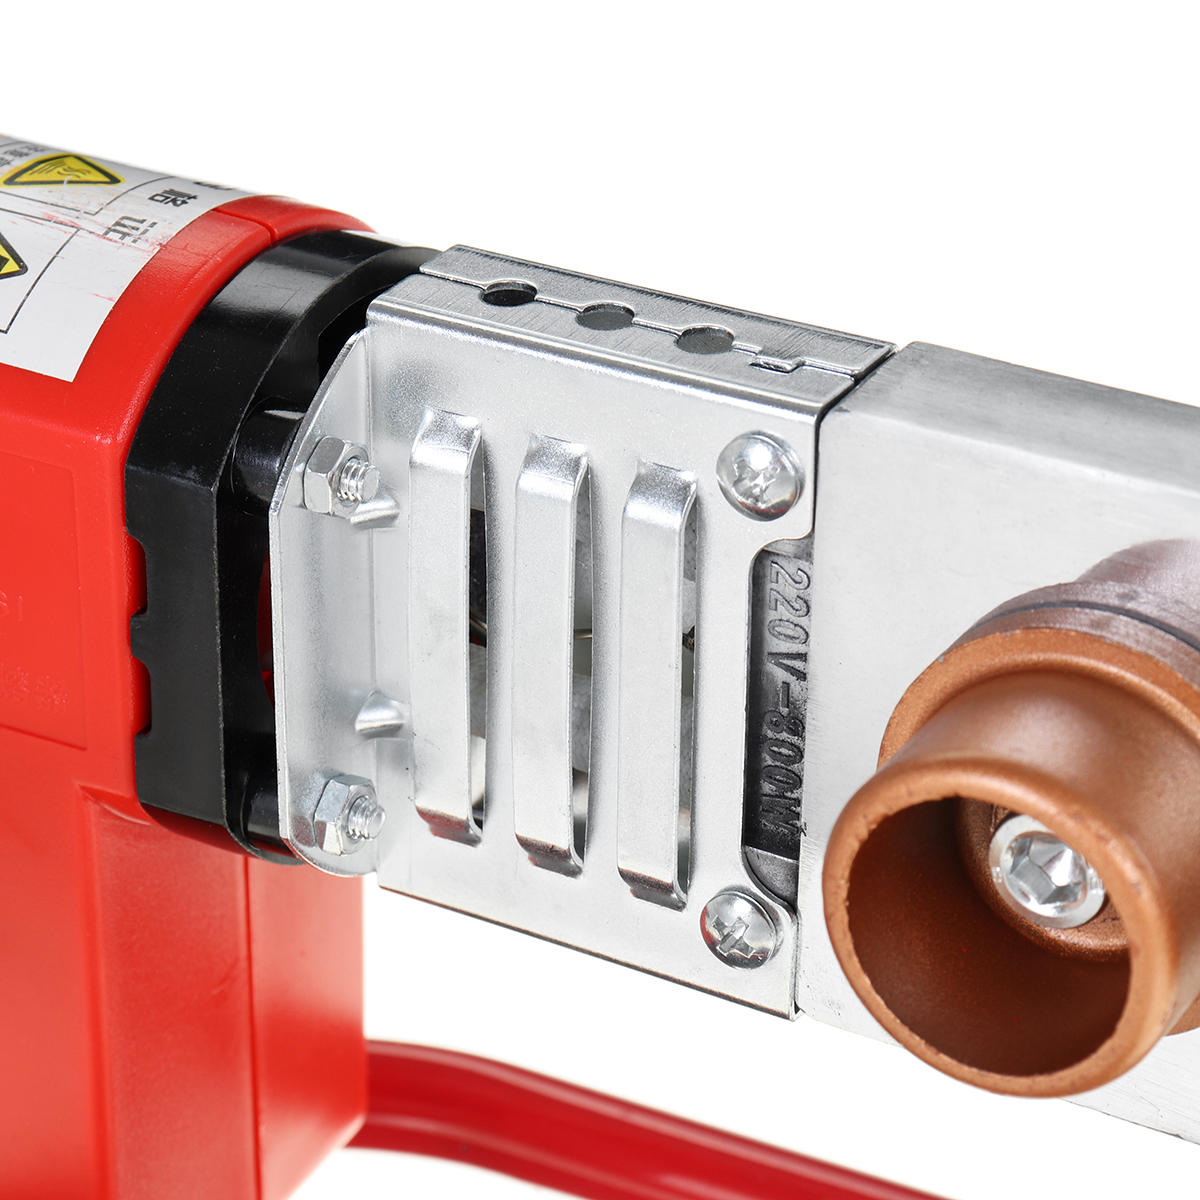
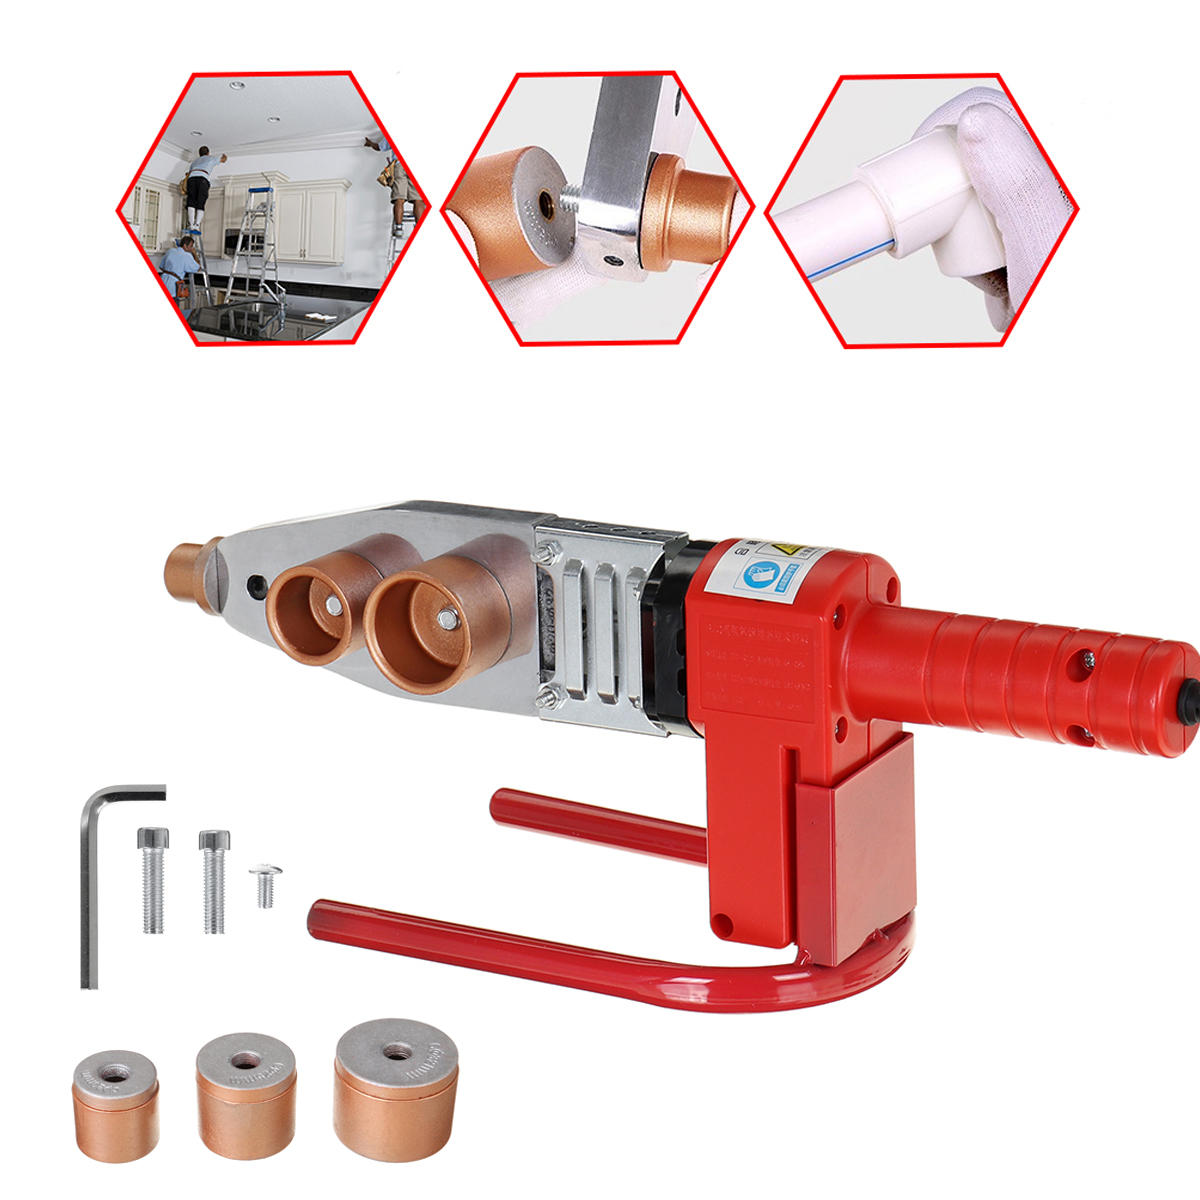
Introducing the Electric Welding Tool, a vibrant red device made from a sturdy aluminium alloy. This powerful tool operates at a rated power of 800W and comes with three different heads: 20mm, 25mm, and 32mm. It functions within a voltage range of AC 220V 50 ± 1hz and maintains a heating head temperature of 260 ± 5 ℃. Safety is a priority with this tool, as it boasts an insulation resistance of not less than 1MΩ and a leakage current of ≤5mA (AC rms).
Features
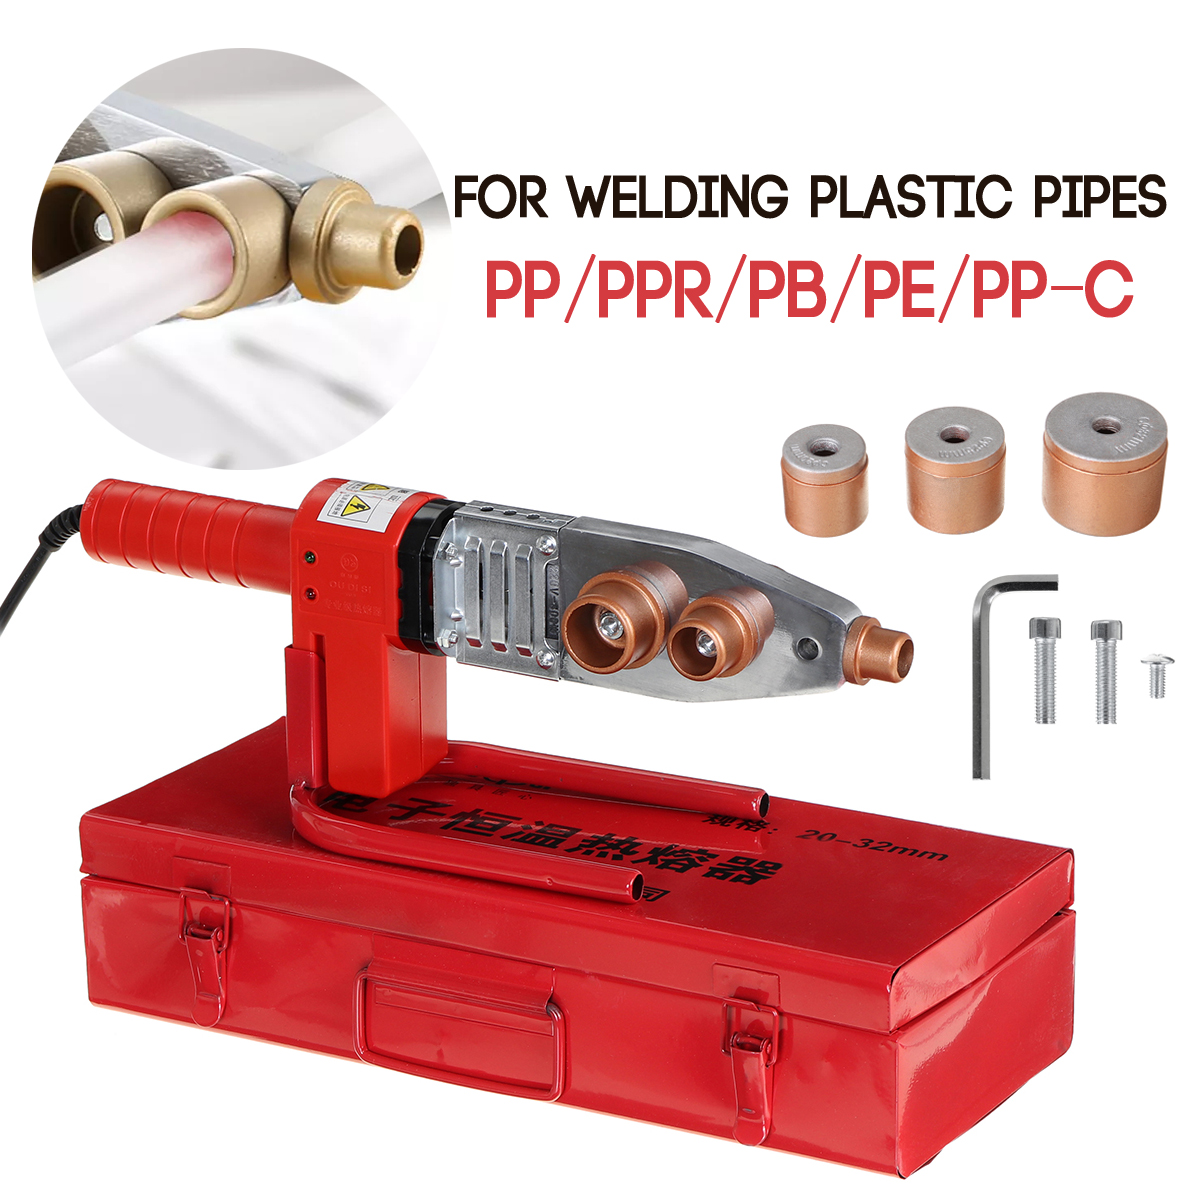
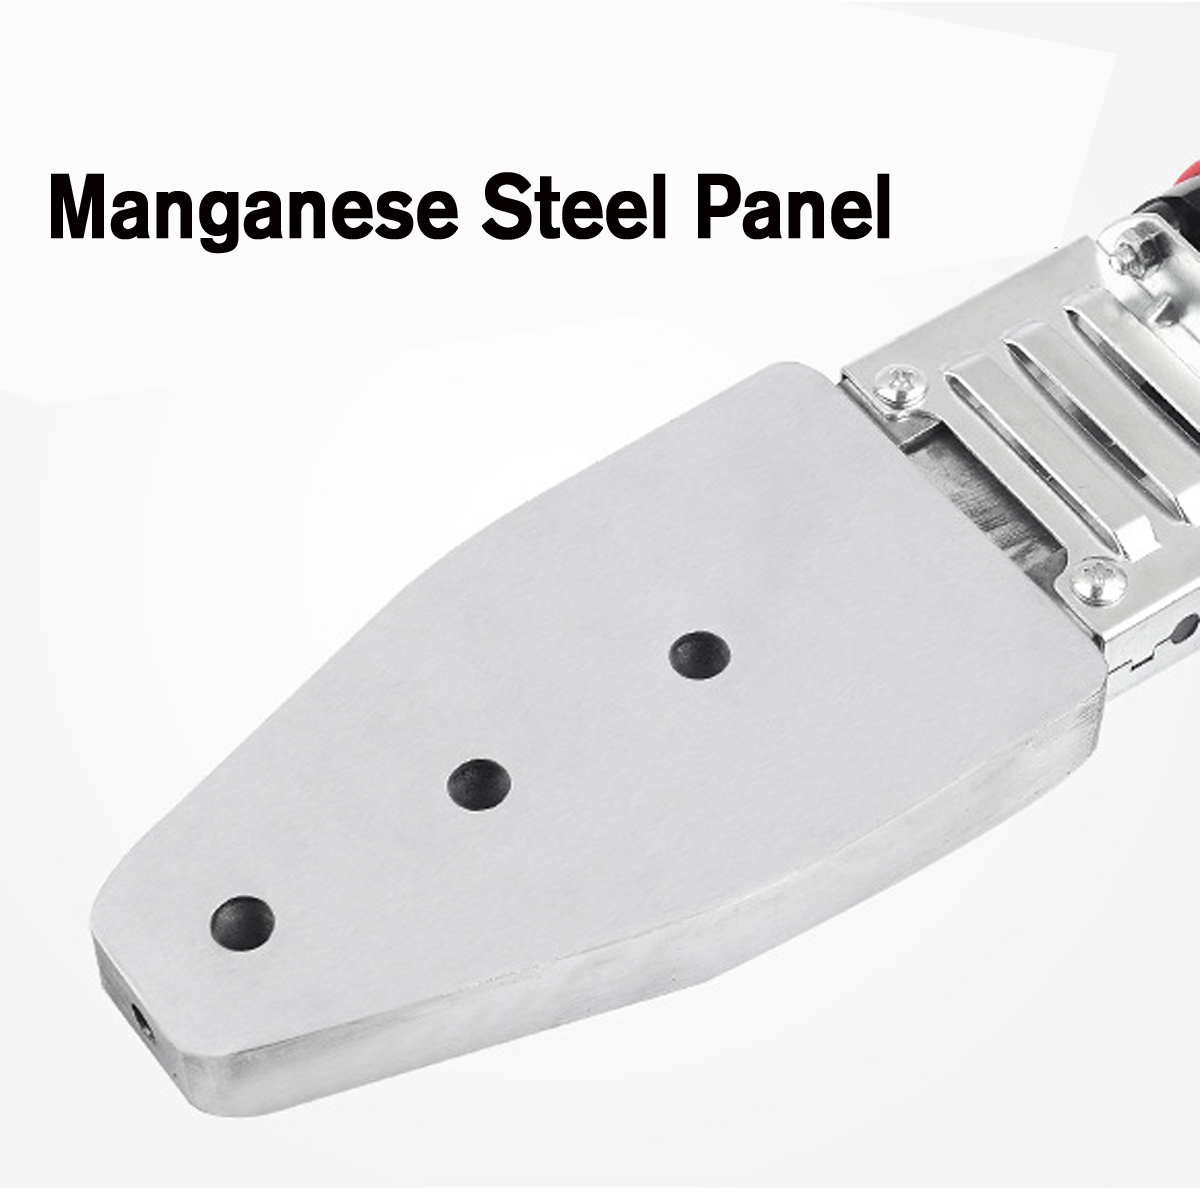
This Electric Welding Tool is a versatile device, capable of welding plastic pipes such as PP / PPR / PB / PE / PP-C pipe and more. It’s designed for durability and long-term use. The non-slip handle ensures a comfortable grip, making it an ideal choice for pipeline construction equipment. The tool features a manganese steel panel for fast heat conduction and a thick gold paint touch head for quick hot melt heating.
Package Included
The package comes with everything you need to get started:
1 x Pipe Welding Machine
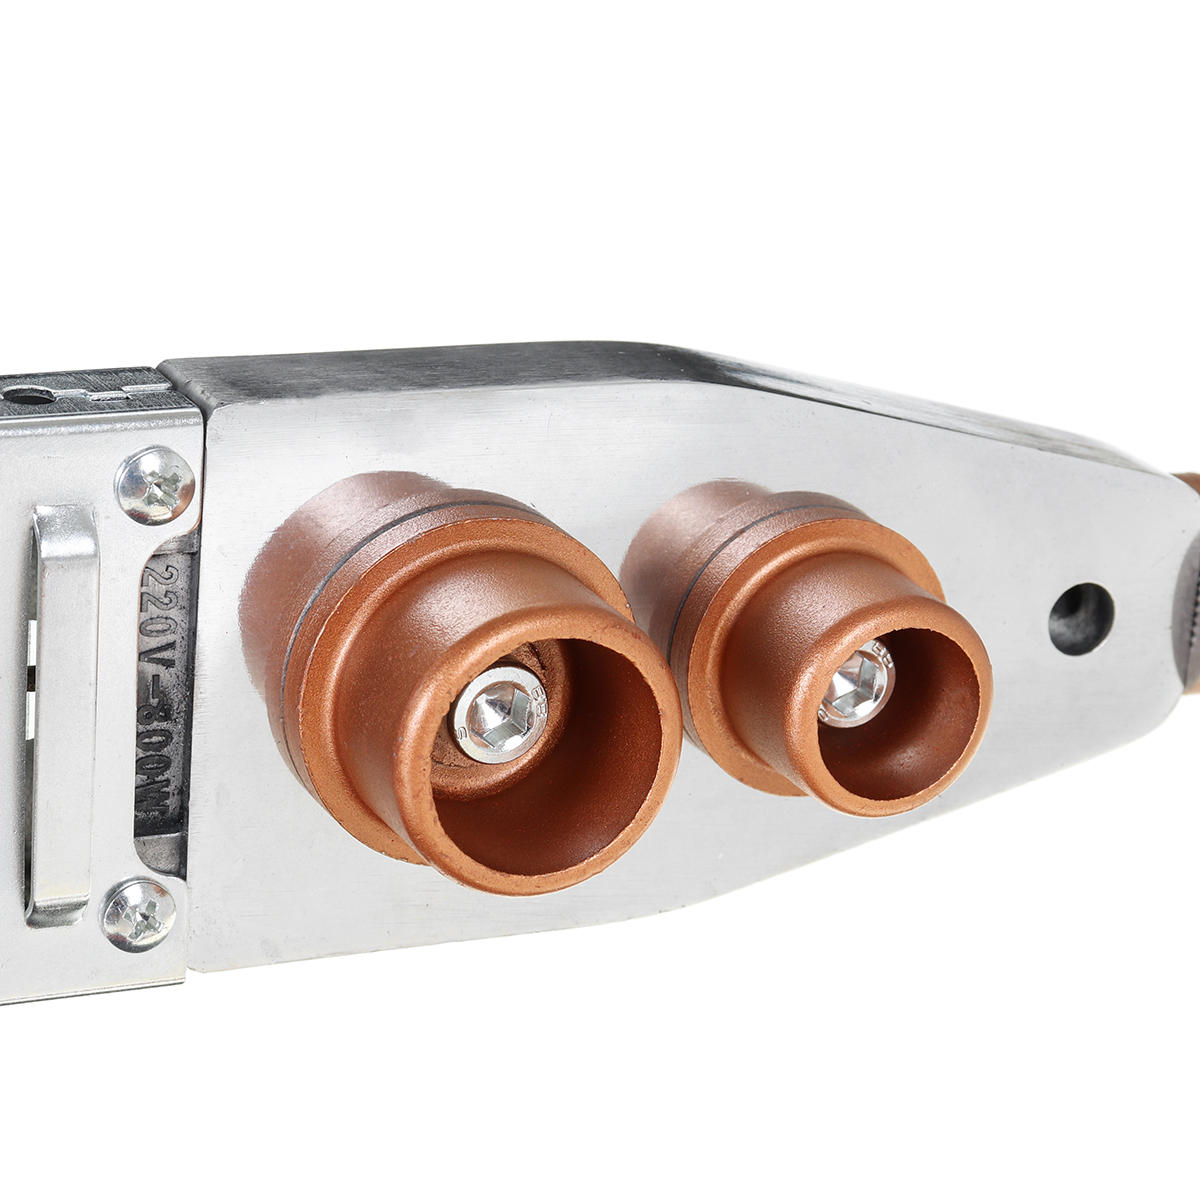
3 x 20mm 25mm 32mm Welding Heads
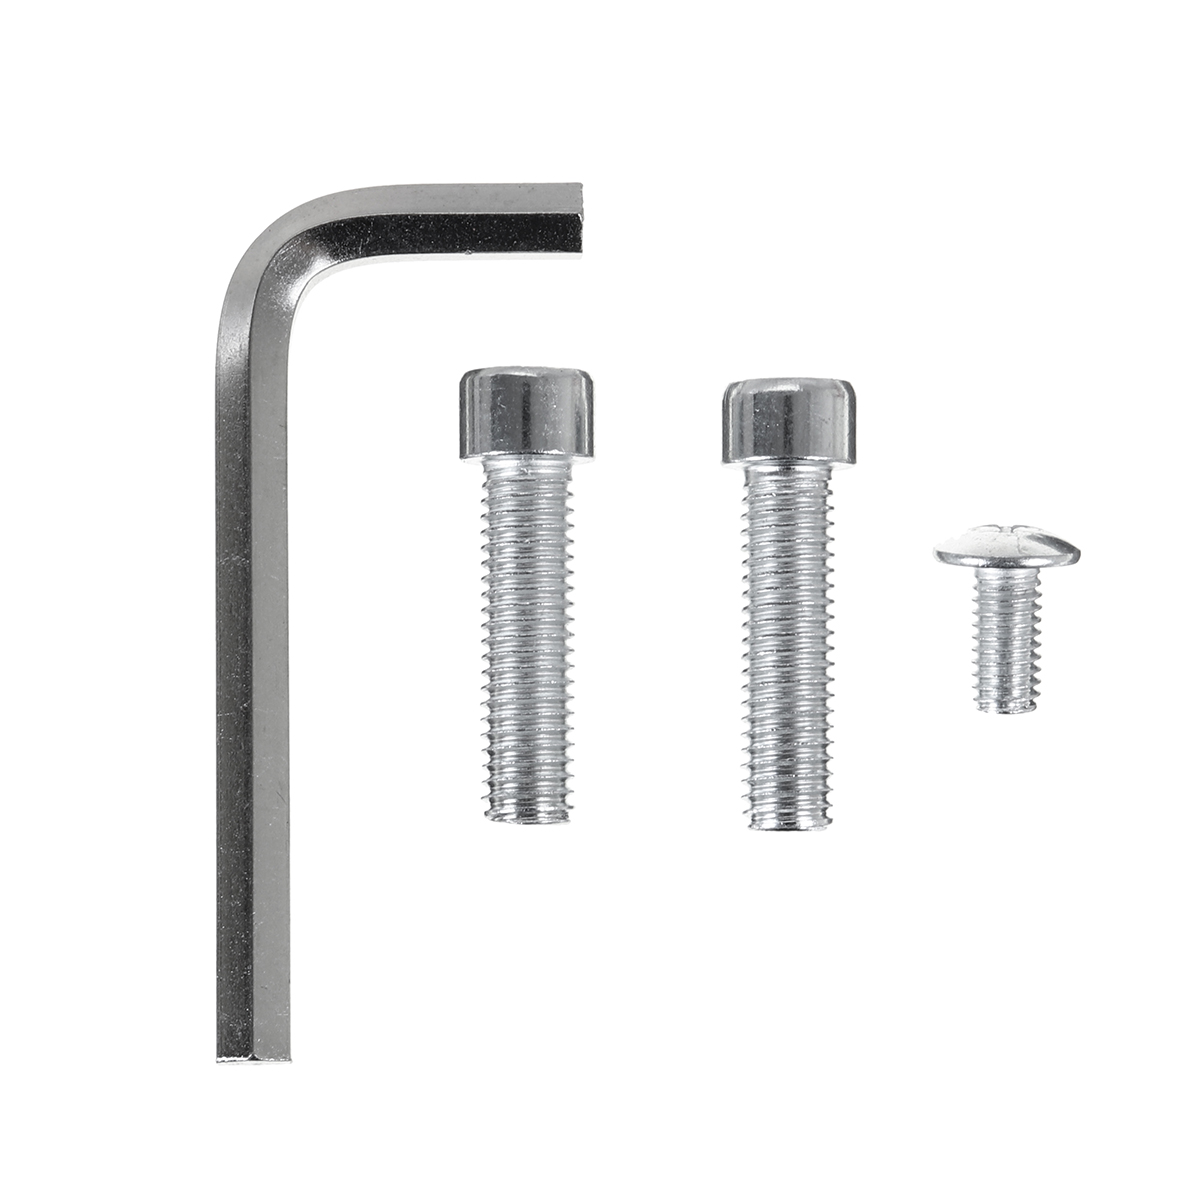
2 x Fasten Screw
1 x Inner Hexagon Spanner
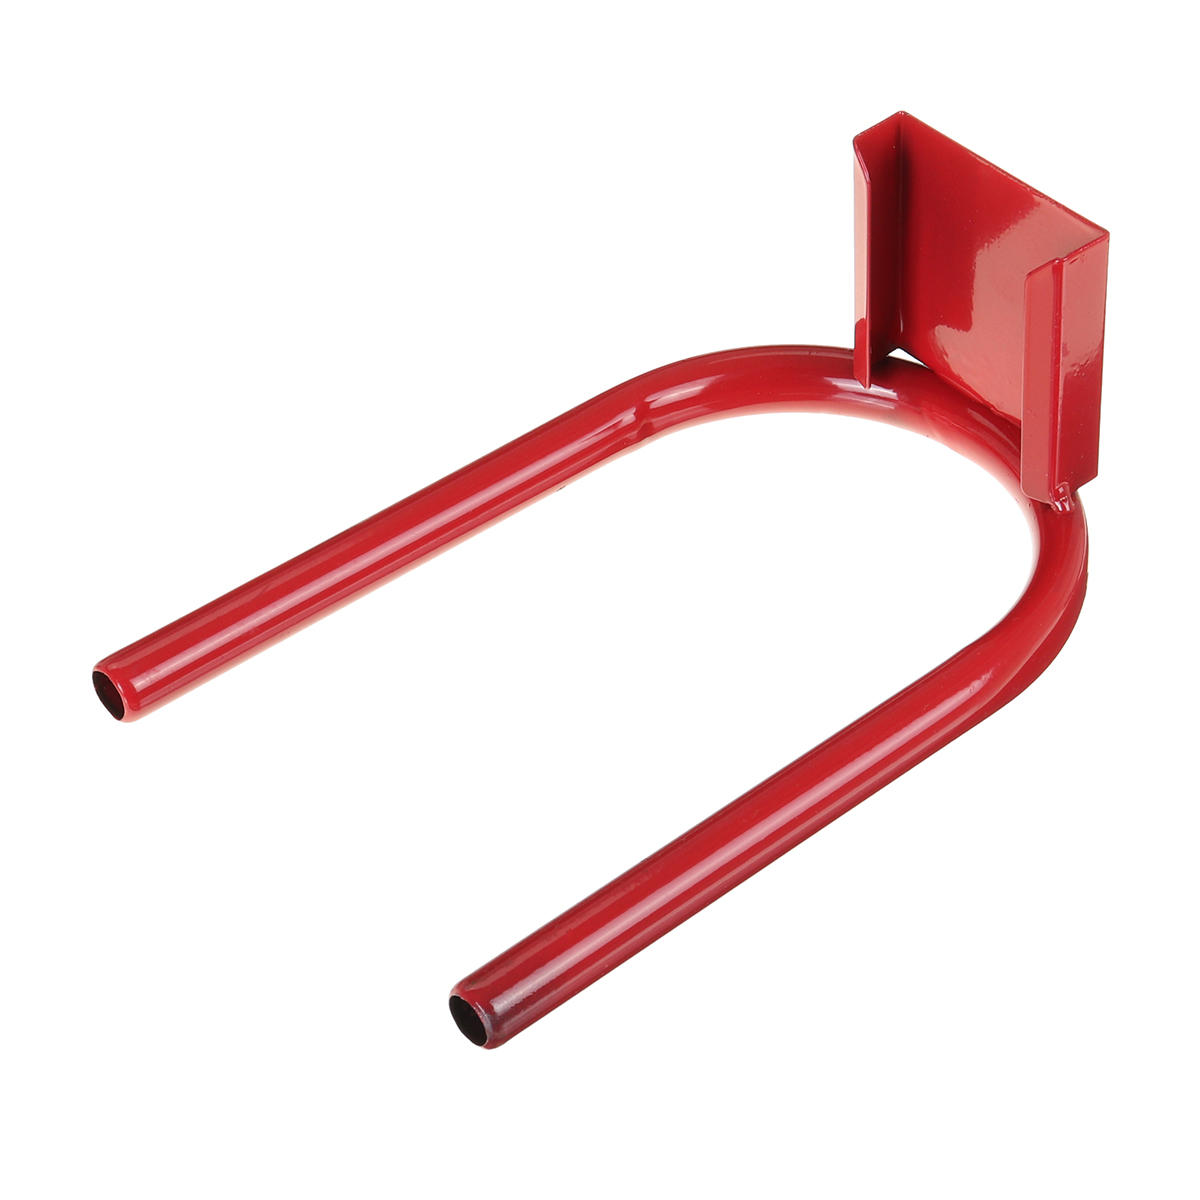
1 x Support Shelf
1 x Iron Box
Instruction
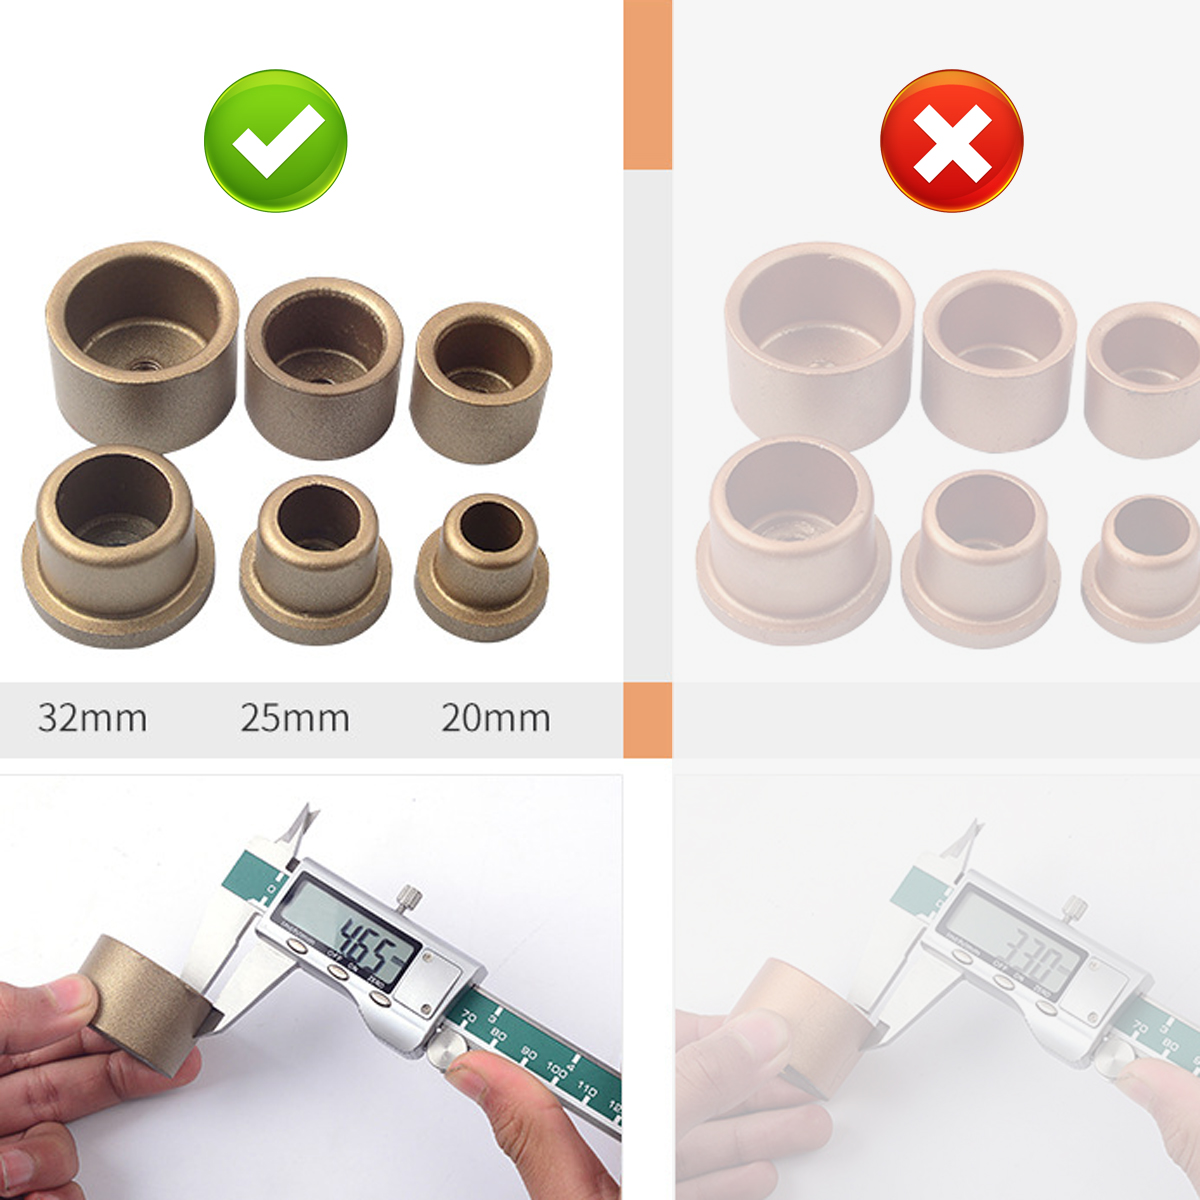
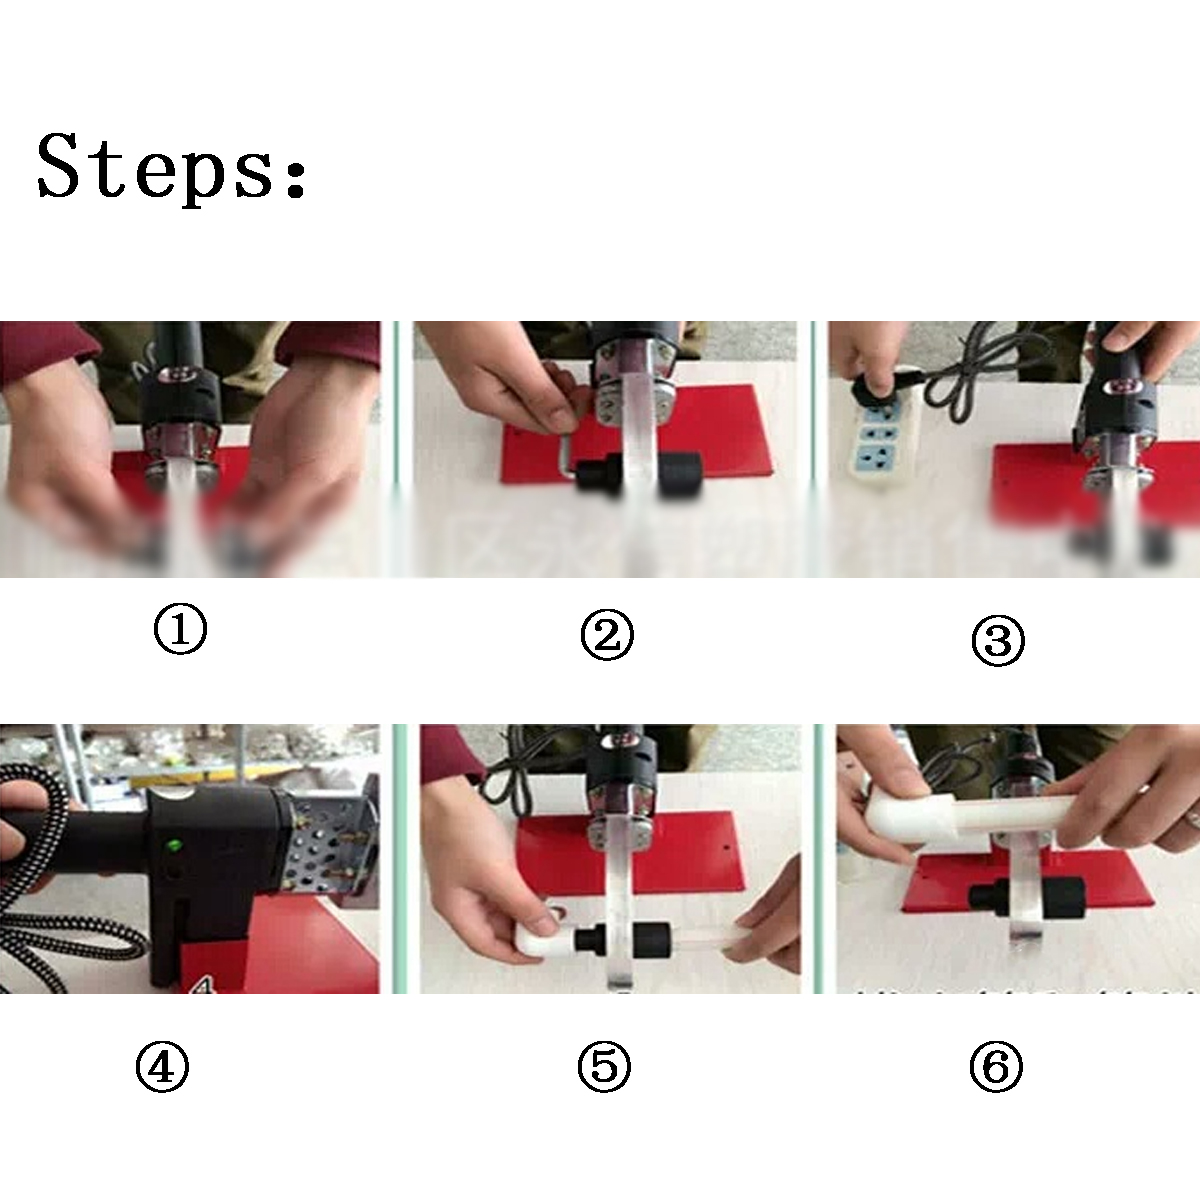
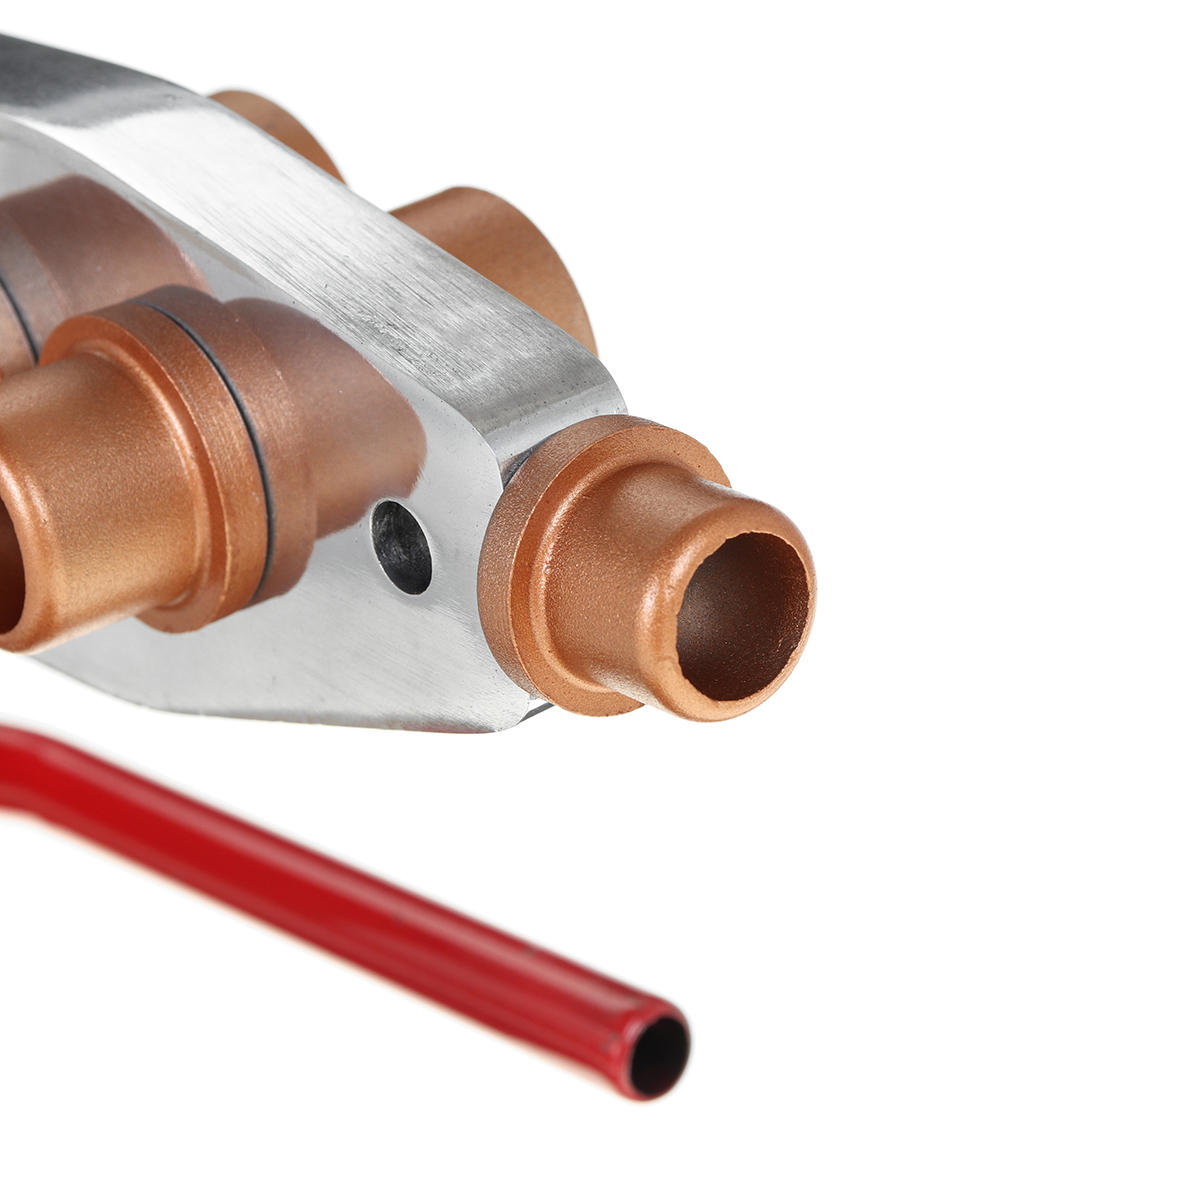
Setting up the Electric Welding Tool is simple. First, install the heatsink on the fixed welding device and place the welding device on the rack. Install the appropriate heating die based on the pipe specifications and tighten it using the hexagon. Remember, the smaller end should be in the front.
Next, power on the device (ensure the power source has a ground protection line). The green indicator light will turn on. Once the green light turns off and the red light turns on, the device has entered the automatic temperature control state and is ready for operation. Note: In this state, the red and green lights will alternate, indicating that the device is in a controlled state and ready for use.
Finally, cut the pipe straight with a pipe cutter. Insert the pipe and pipe simultaneously into the fuse die without rotating. Follow the table’s instructions to reach the heating time. Once reached, remove the pipe and pipe from the die simultaneously and quickly insert them into the required depth without rotation. This will ensure the joints open into a uniform flange.