


Overview:
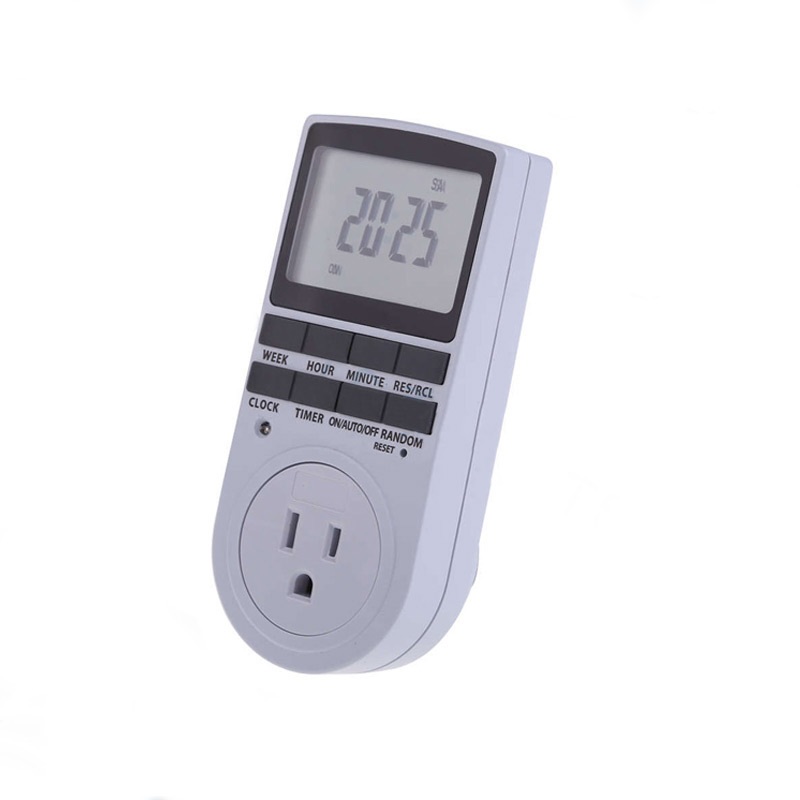
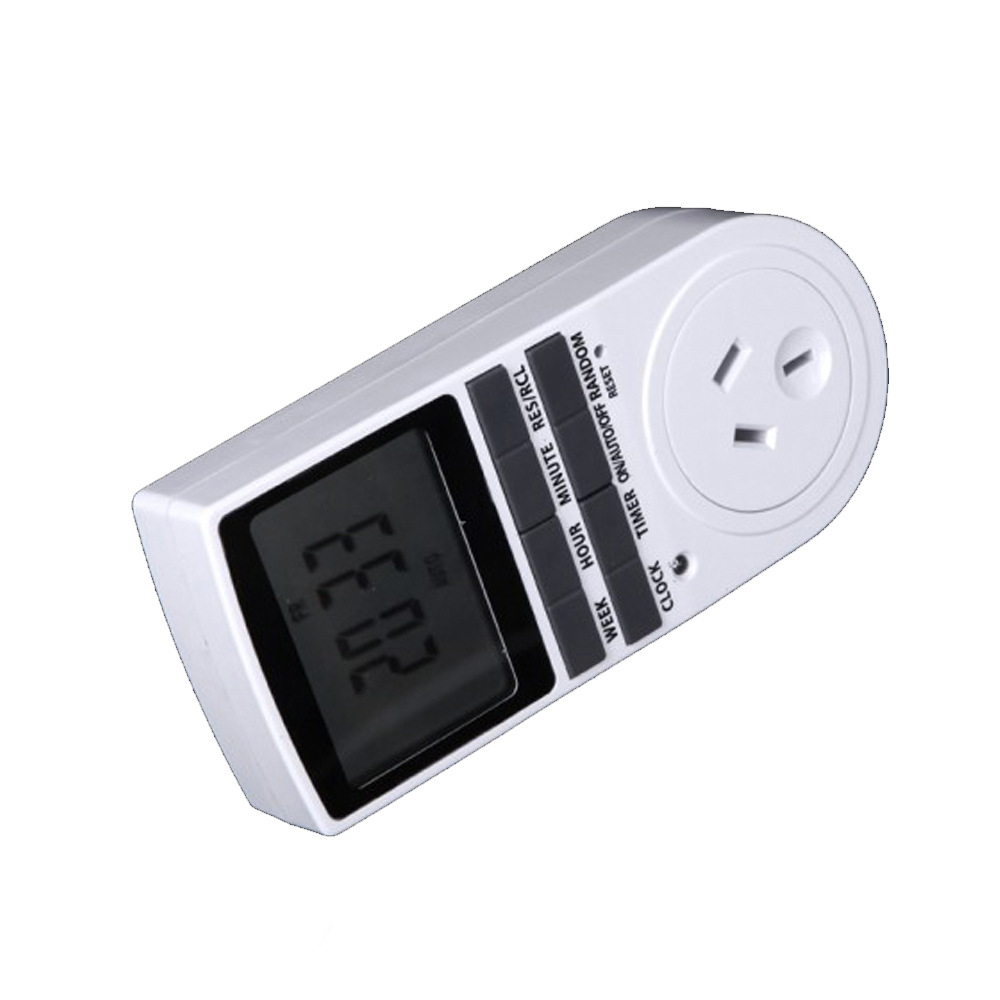
Welcome to your newest energy-saving companion! This intuitive device is a plug-in timer switch that evokes functionality and convenience in controlling the power supply to your appliances. It’s equipped with an internal battery, powering the clock and assisting in timer setup. Should the device run out of battery, simply plug it into an outlet for a quick 5-10 minute recharge. It’s designed to make your life easier while also promoting energy efficiency.
Sensational Features:
- You can choose between a 12 /24 hour system to match your preference.
- Effortlessly juggle between Standard time and Daylight Saving Time.
- Schedule up to 10 on/off settings per day for optimal control.
- Time setting functionality includes options for HOUR, MINUTE, and DAY.
- A manual override feature is available for setting the timer switch to always on or off at your convenience.
- Want your lights to flicker at random timings while you’re on vacation? There’s a setting for that too!
Basic Setup Instructions:
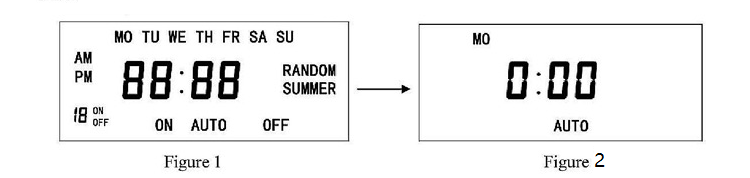
To kick things off, press the ”RESET” button with a paperclip to clear existing settings. This will lead you straight to the “Clock Mode”.
Setting Up the Clock:
In “Clock Mode”,
- The LCD screen displays the day, hour, and minute.
- Setting the day is as straightforward as pressing both the “CLOCK” and “WEEK” buttons together.
- To modify the hour, press the “CLOCK” and “HOUR” buttons at the same time.
- Adjusting the minute follows the same routine — simply press the ”CLOCK” and ”MINUTE” buttons together.
- You can switch between the 12/24-hour mode by pressing the ”CLOCK” and “TIMER” buttons concurrently.
Transition to Daylight Saving Time:
Enable Daylight Saving Time with a simple press and hold action of the ‘CLOCK” button, followed by pressing the “ON/AUTO/OFF” button. You will see a “SUMMER” indication on the LCD screen.
Setting the Timer:
- Pressing the “TIMER” button gets you into the setting mode.
- Fine-tune your week’s power schedule by picking the group of days you want the appliance running.
- Adjust the hour and minute with the “HOUR” and “MINUTE” buttons, respectively.
- Messed up? The “RES/RCL” button lets you delete or restore recent settings.
- Proceed to the following on/off setting position by pressing the ‘TIMER’ button, and repeat steps 2-4.
Note: The setting mode will exit automatically if no action is taken in 30 seconds. Hit the “CLOCK” button to exit manually.
Embracing Random Function:
Switch to the “RANDOM” function between 6:00 PM to 6:00 AM by pressing the “RANDOM” button: The word “RANDOM” appears on your LCD screen, denoting the function’s activation. Press it again if you wish to cancel.
Manual Operation:
Depending on the LCD display, the device works as follows: AUTO: According to your settings. ON: Permanently on. OFF: Permanently off.
Specifications:
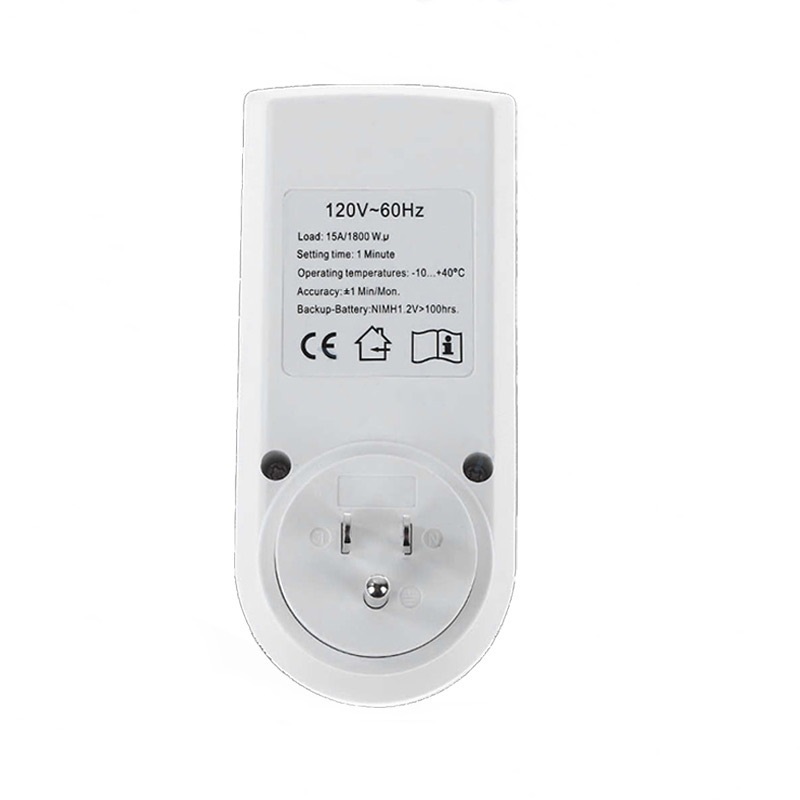
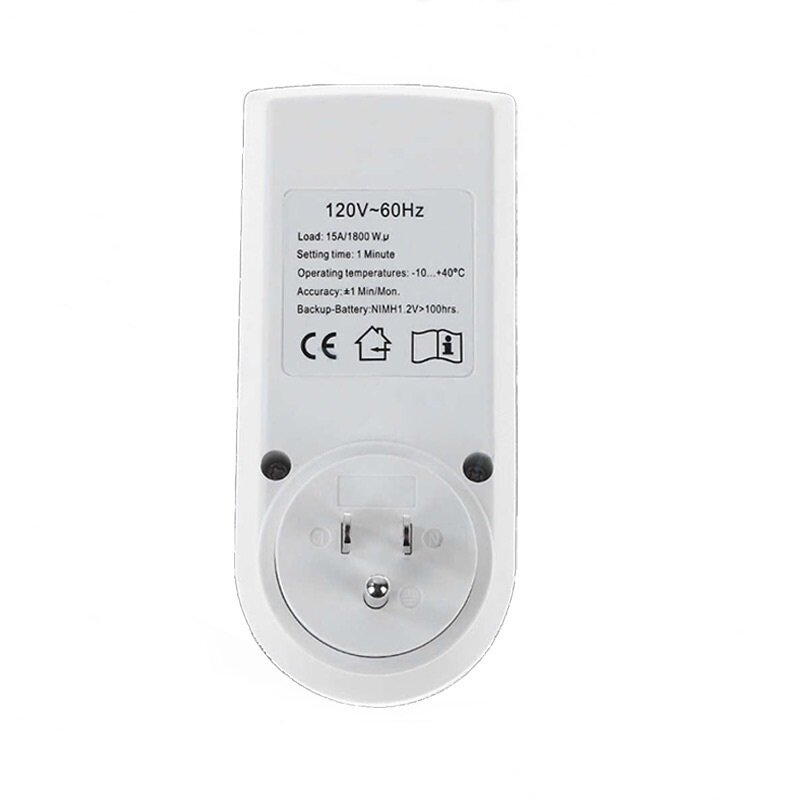
Rated Voltage: 120V~/60Hz
Current Rating: 120V~AC / 15A 1800W
Operating Temperature: -10~+40℃
Accuracy: ± 1 Min/Mon
Battery: NIMH1.2V
What’s in the box:
1 x Digital Timer Switch
1 x User Manual