


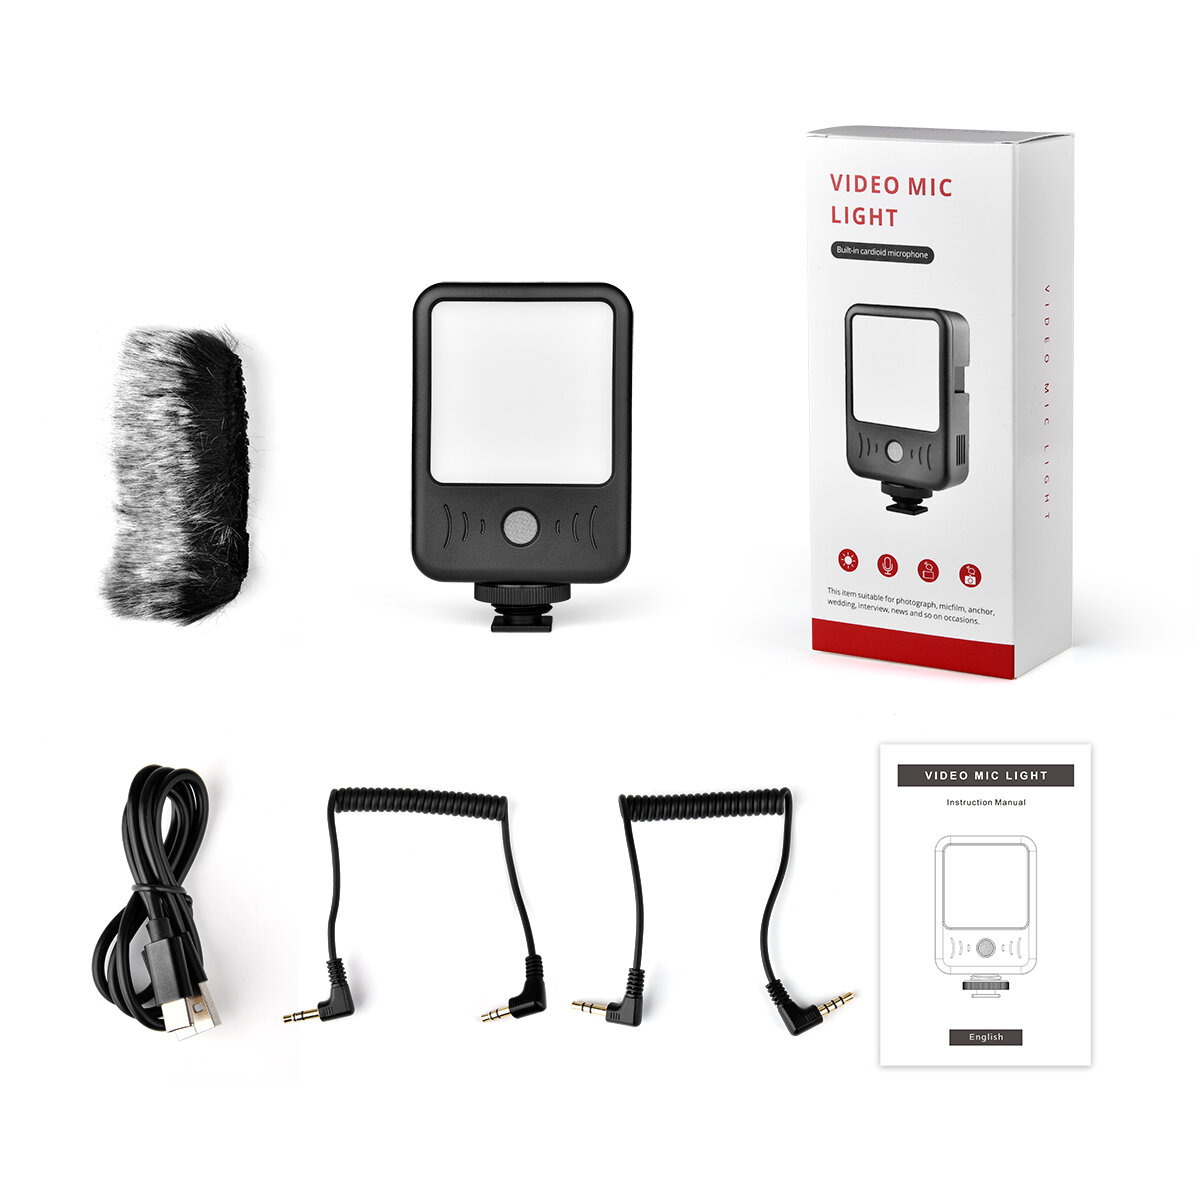


Product Details:
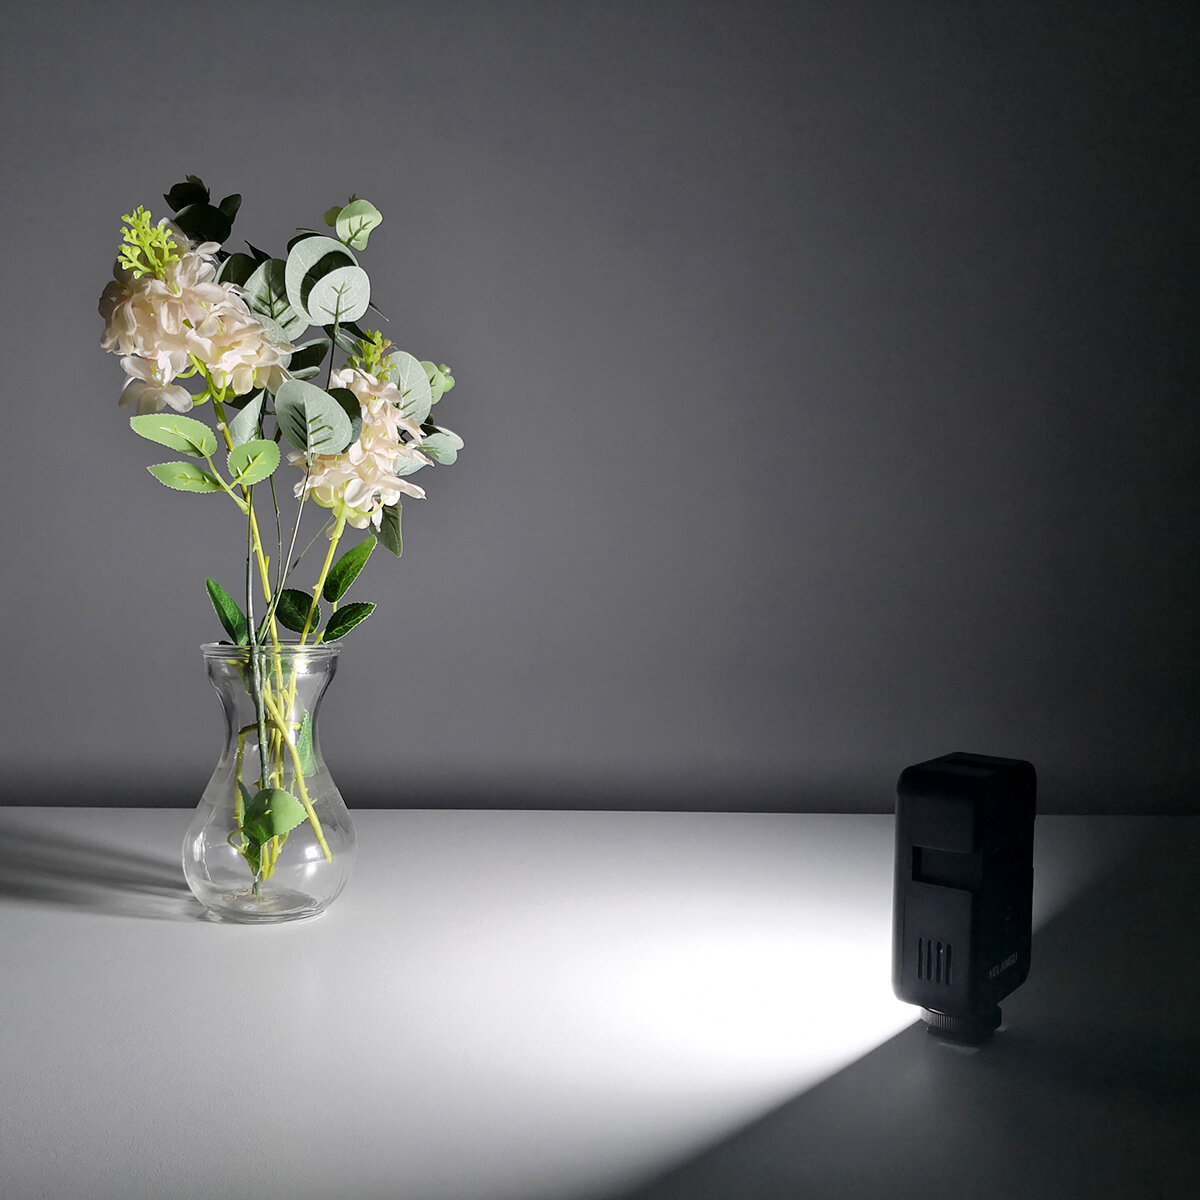
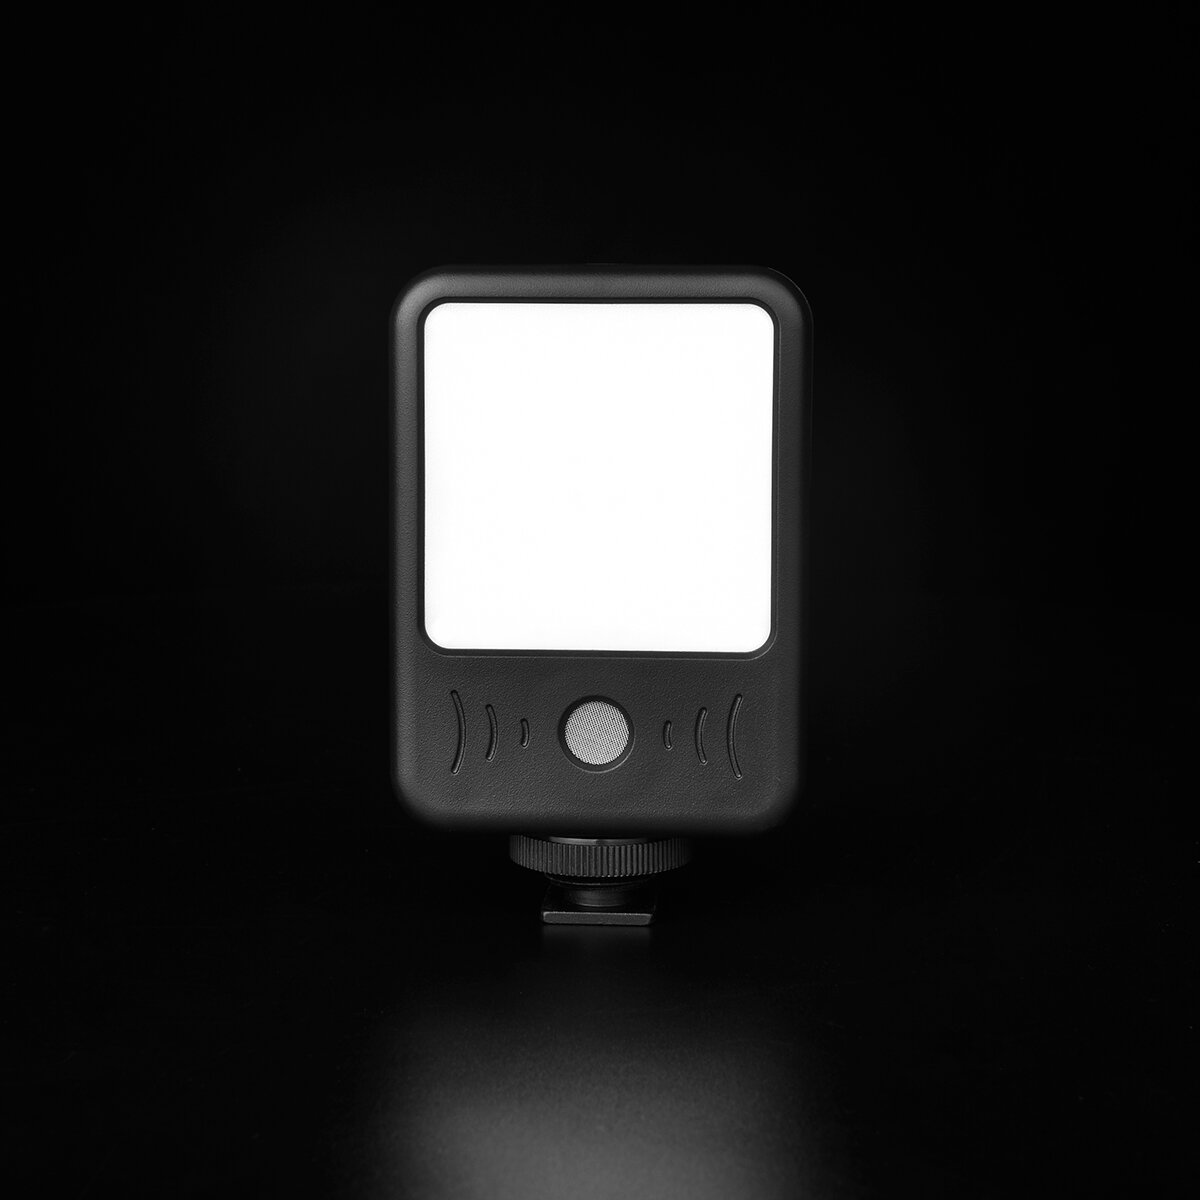
This product features 49 high-brightness LED lamp beads with a long service life and uniform luminescence. Its color temperature is accurately maintained.
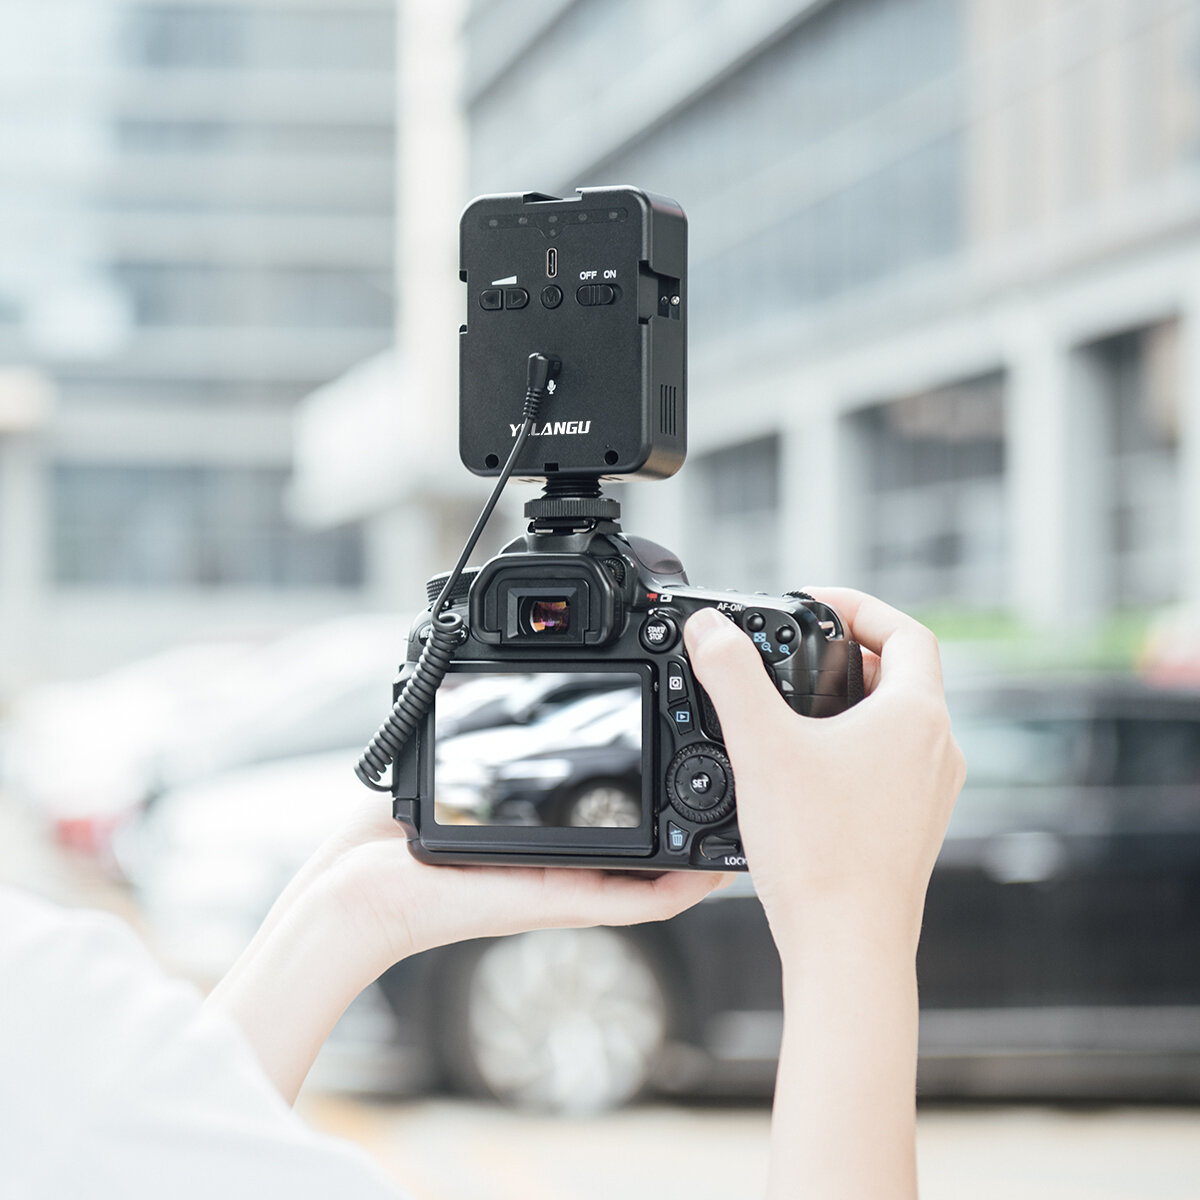
It contains a built-in single-pointing microphone designed to minimize interference with the mic pickup. Furthermore, this microphone is an anti-noise variant ensuring clear sound quality and high sensitivity, which allows for long-distance pickup.
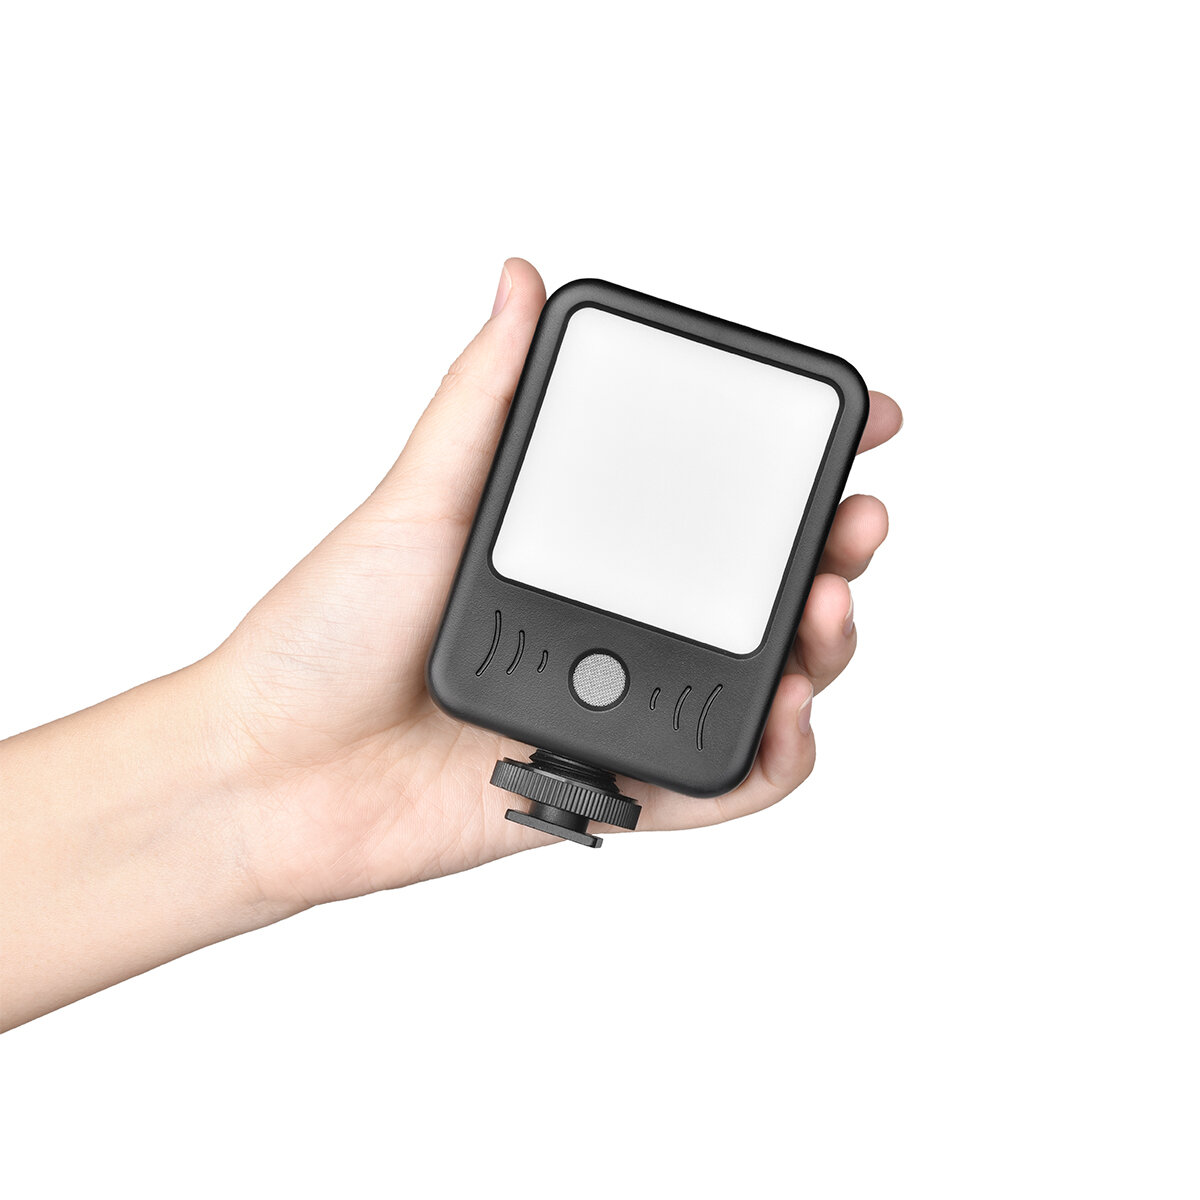
Despite offering multiple features, the product maintains a small and portable design, making it easy to carry around.
Specifications:
- Brand: YELANGU
- Model: LED02
- Color: Black
- Net Weight: 120g
- Dimensions: 105mm66mm33.5mm
- Power: 5W
- Frequency Response: 20-16000Hz
- Maximum Sound Pressure Level: 115dB S.P.L
- Signal to Noise Ratio: >75dB
- Output Impedance: Max. 0.68KΩ1KHZ (RL=0.68KΩ)
- Sensitivity Reduction: 1.5V-1.0V Sensitivity Change
- Sensitivity: -29±2dB RL=O.68KΩ Vs=1.5V (1KHz 0dB=lV/Pa)
- Working Current: Max. 1.3A
- Working Voltage Range of Microphone: 3.7V
- Color Temperature: 6500K
- LED Light: 49 High-Brightness LED
- Dimming Mode: Button type
- Battery Capacity: 2000mAh
- Charging Time: About 2.5 hours
- Working Time: Maximum brightness can last for 2 hours
The package includes:
- 1 Miclight
- 1 Windbreak Wool Cover
- 1 Charging Cable
- 1 3-Section Plug Audio Cable
- 1 3-Section to 4-Section Plug Audio Cable
- 1 User Manual
Image Gallery:
